A number of years ago my family and my best friend’s family decided to take a shared vacation to South Dakota. We were gone for 10 days and have since decided it was the best vacation ever. 6 years later we’re still talking about all the fun we had.
While we were there, we saw some amazing things like Mt. Rushmore, Crazy Horse, Custer State Park, the Mammoth excavations. But what struck me most was the scenery. Gently rolling hills. Acres and acres of prairie covered in waving grass. It was breathtaking in its simplicity and seemed to go on forever. In fact, I’m secretly planning another trip back, just so I can see the hills and valleys again.
When I saw this block, I knew I wanted to use the colors of South Dakota, and I know whenever I see this block, I think of that amazing trip.
The block uses 2 contrasting colors, and uses templates 3, 8, 20, and 21. When I first got started, it looked more complicated than it really is. The trick, I found, is doing one part at a time until it’s done, then move onto the next part.
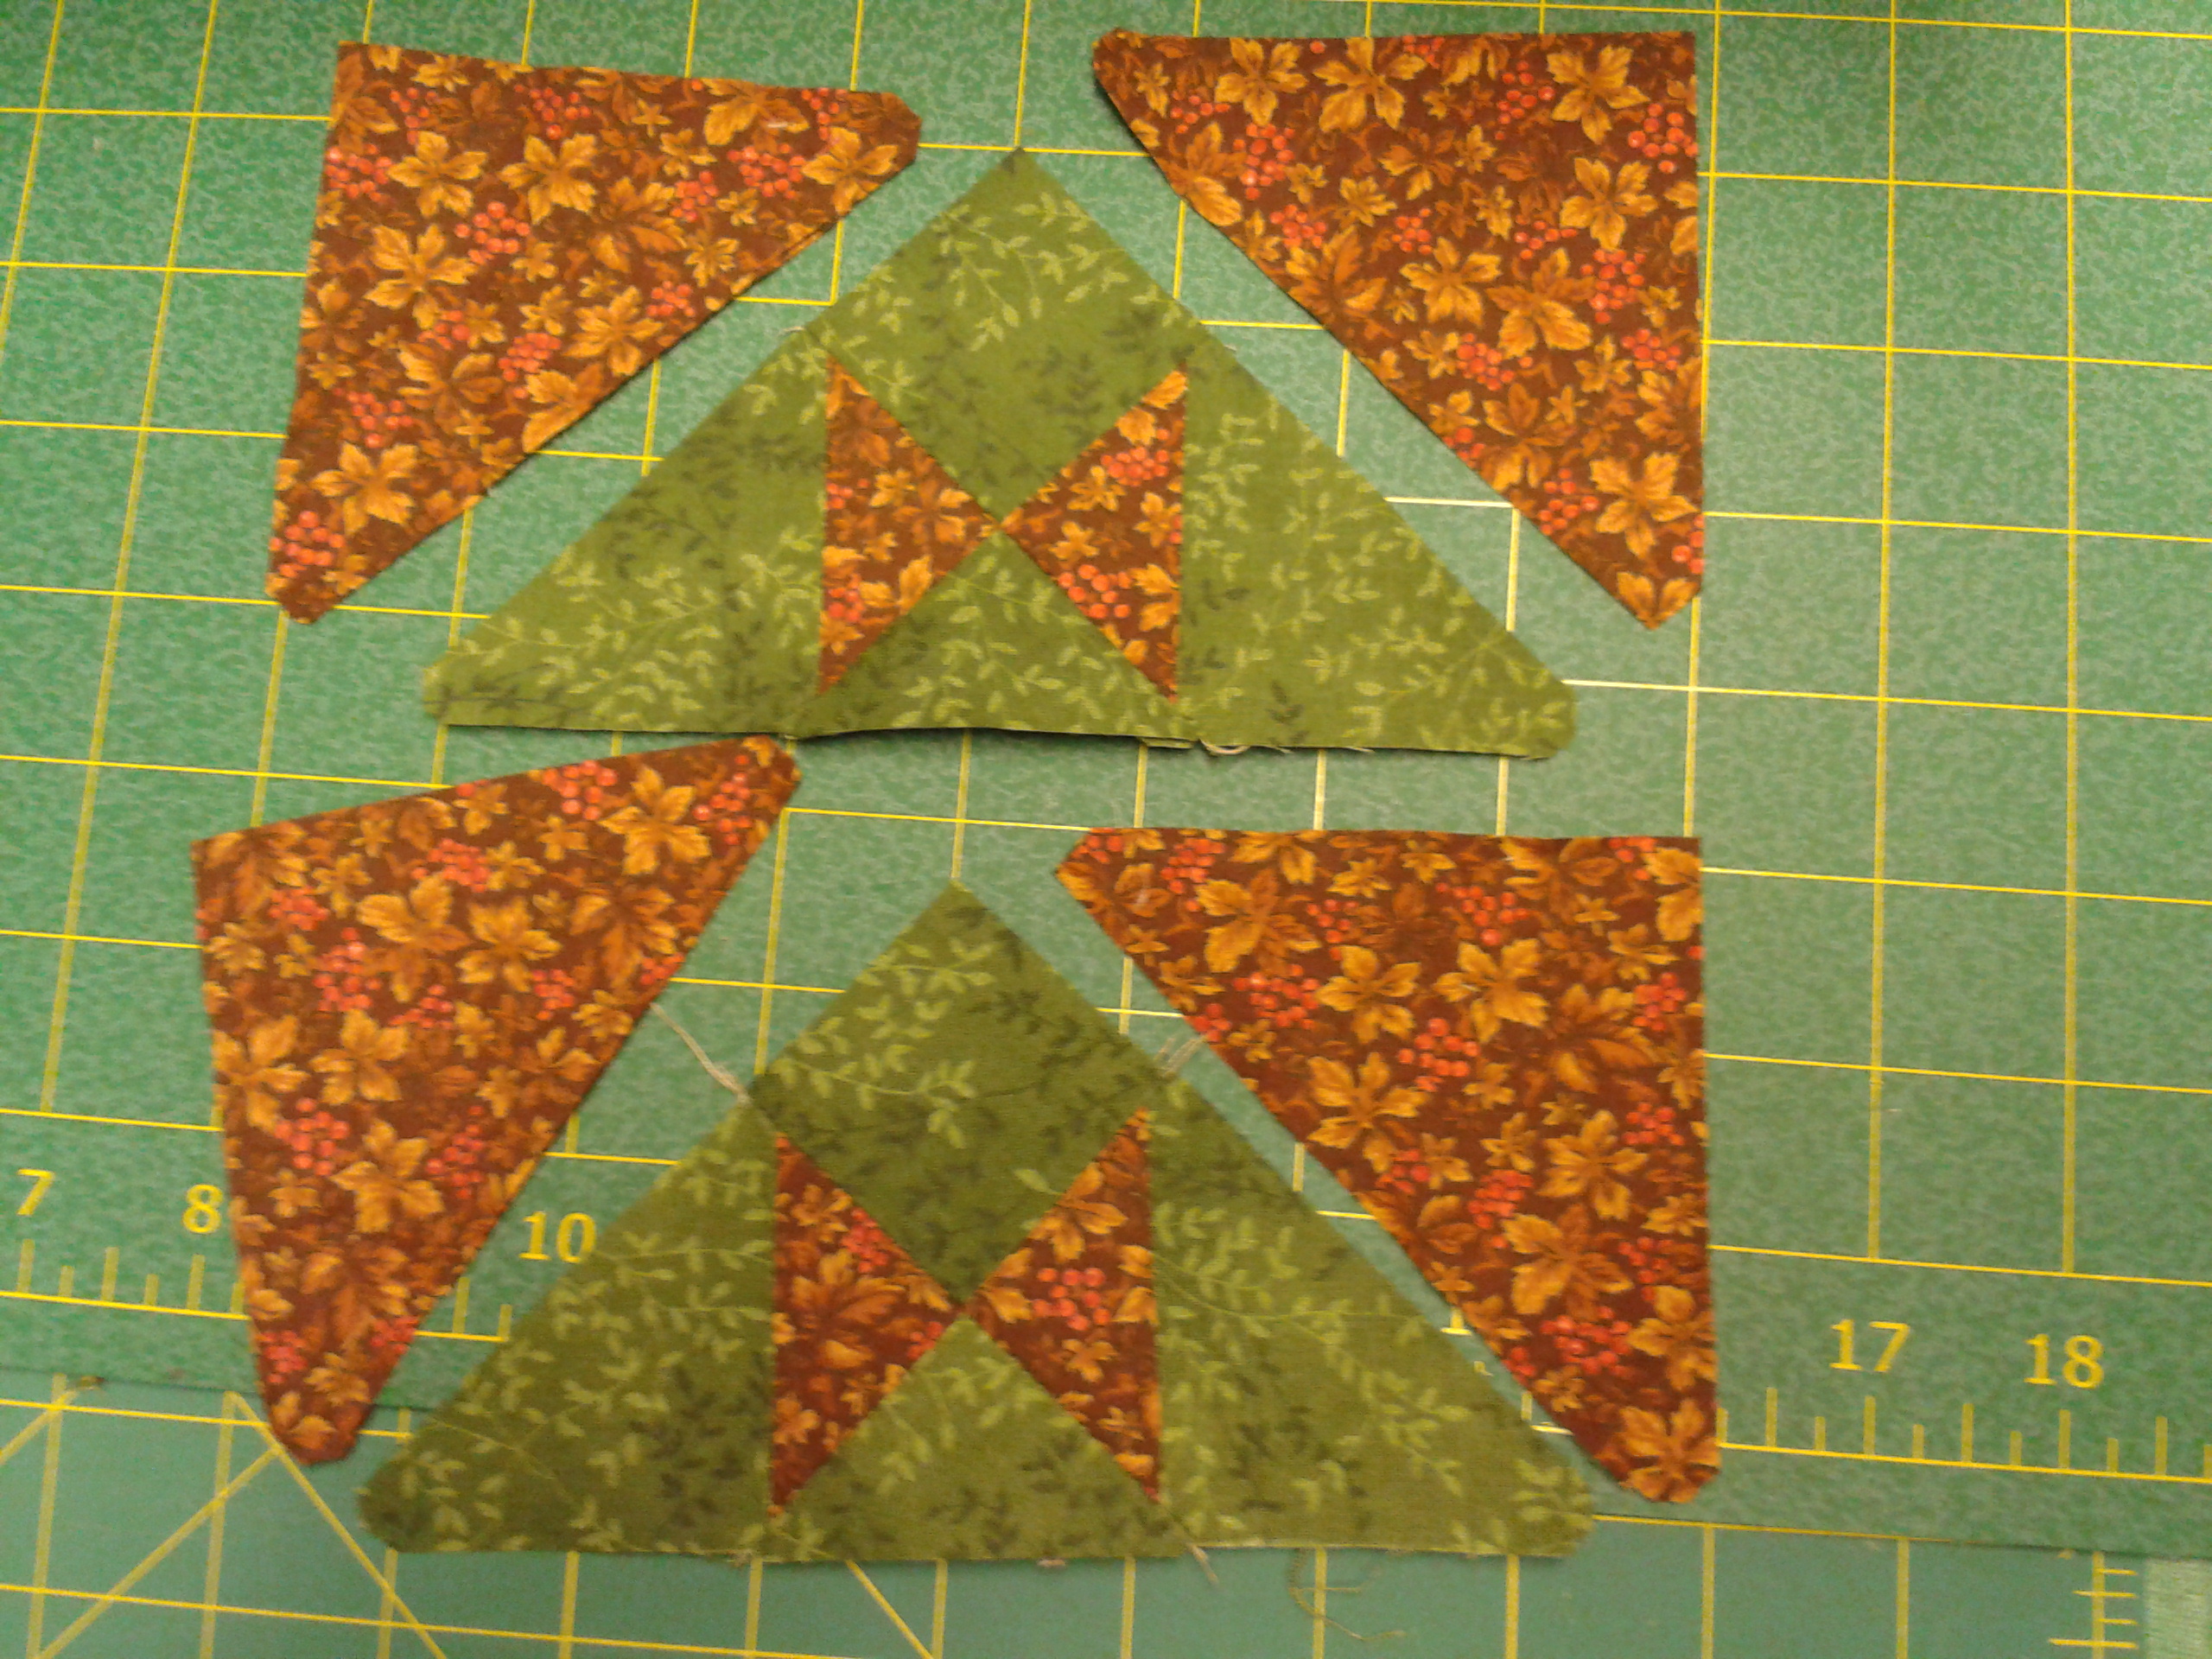
 The top and bottom halves of this block are identical. I wasn’t overly precise in my layout this time, just put everything in place so I could keep track of it. Starting in the top center, I took a small “valley” triangle and laid it on top of the larger “hill” triangle. I did this with all four, chain stitched them, and then pressed the seams open. I know I’ve mentioned this before, but I’m really liking the effect pressing open has on my finished blocks. Much less bulk, I think.
 Next, I took the on-point squares and laid them on top of the hill/valley pieces to the lower right of them. Then I took the small triangle below the on-point square and laid it on top of the hill/valley piece to the left of it. I chain stitched these, pressed them open, and realized I had the Hill portions of my blocks done. They look like large green triangles with brown butterflies in the center.
 Suddenly this block is looking much easier and quite doable. From this point, it’s very straightforward. Just attach the large triangles to either side of the Hills and press. The next step required a little more thought on my part. I marked the center of the bottom edge of the top half of the block with a pin. I made sure to line up the top center part of my lower half wit that pin, and when I sewed the halves together, watched to make sure that lower point didn’t get caught up in the stitching. This way I made sure that my hilltop was nice and pointy.
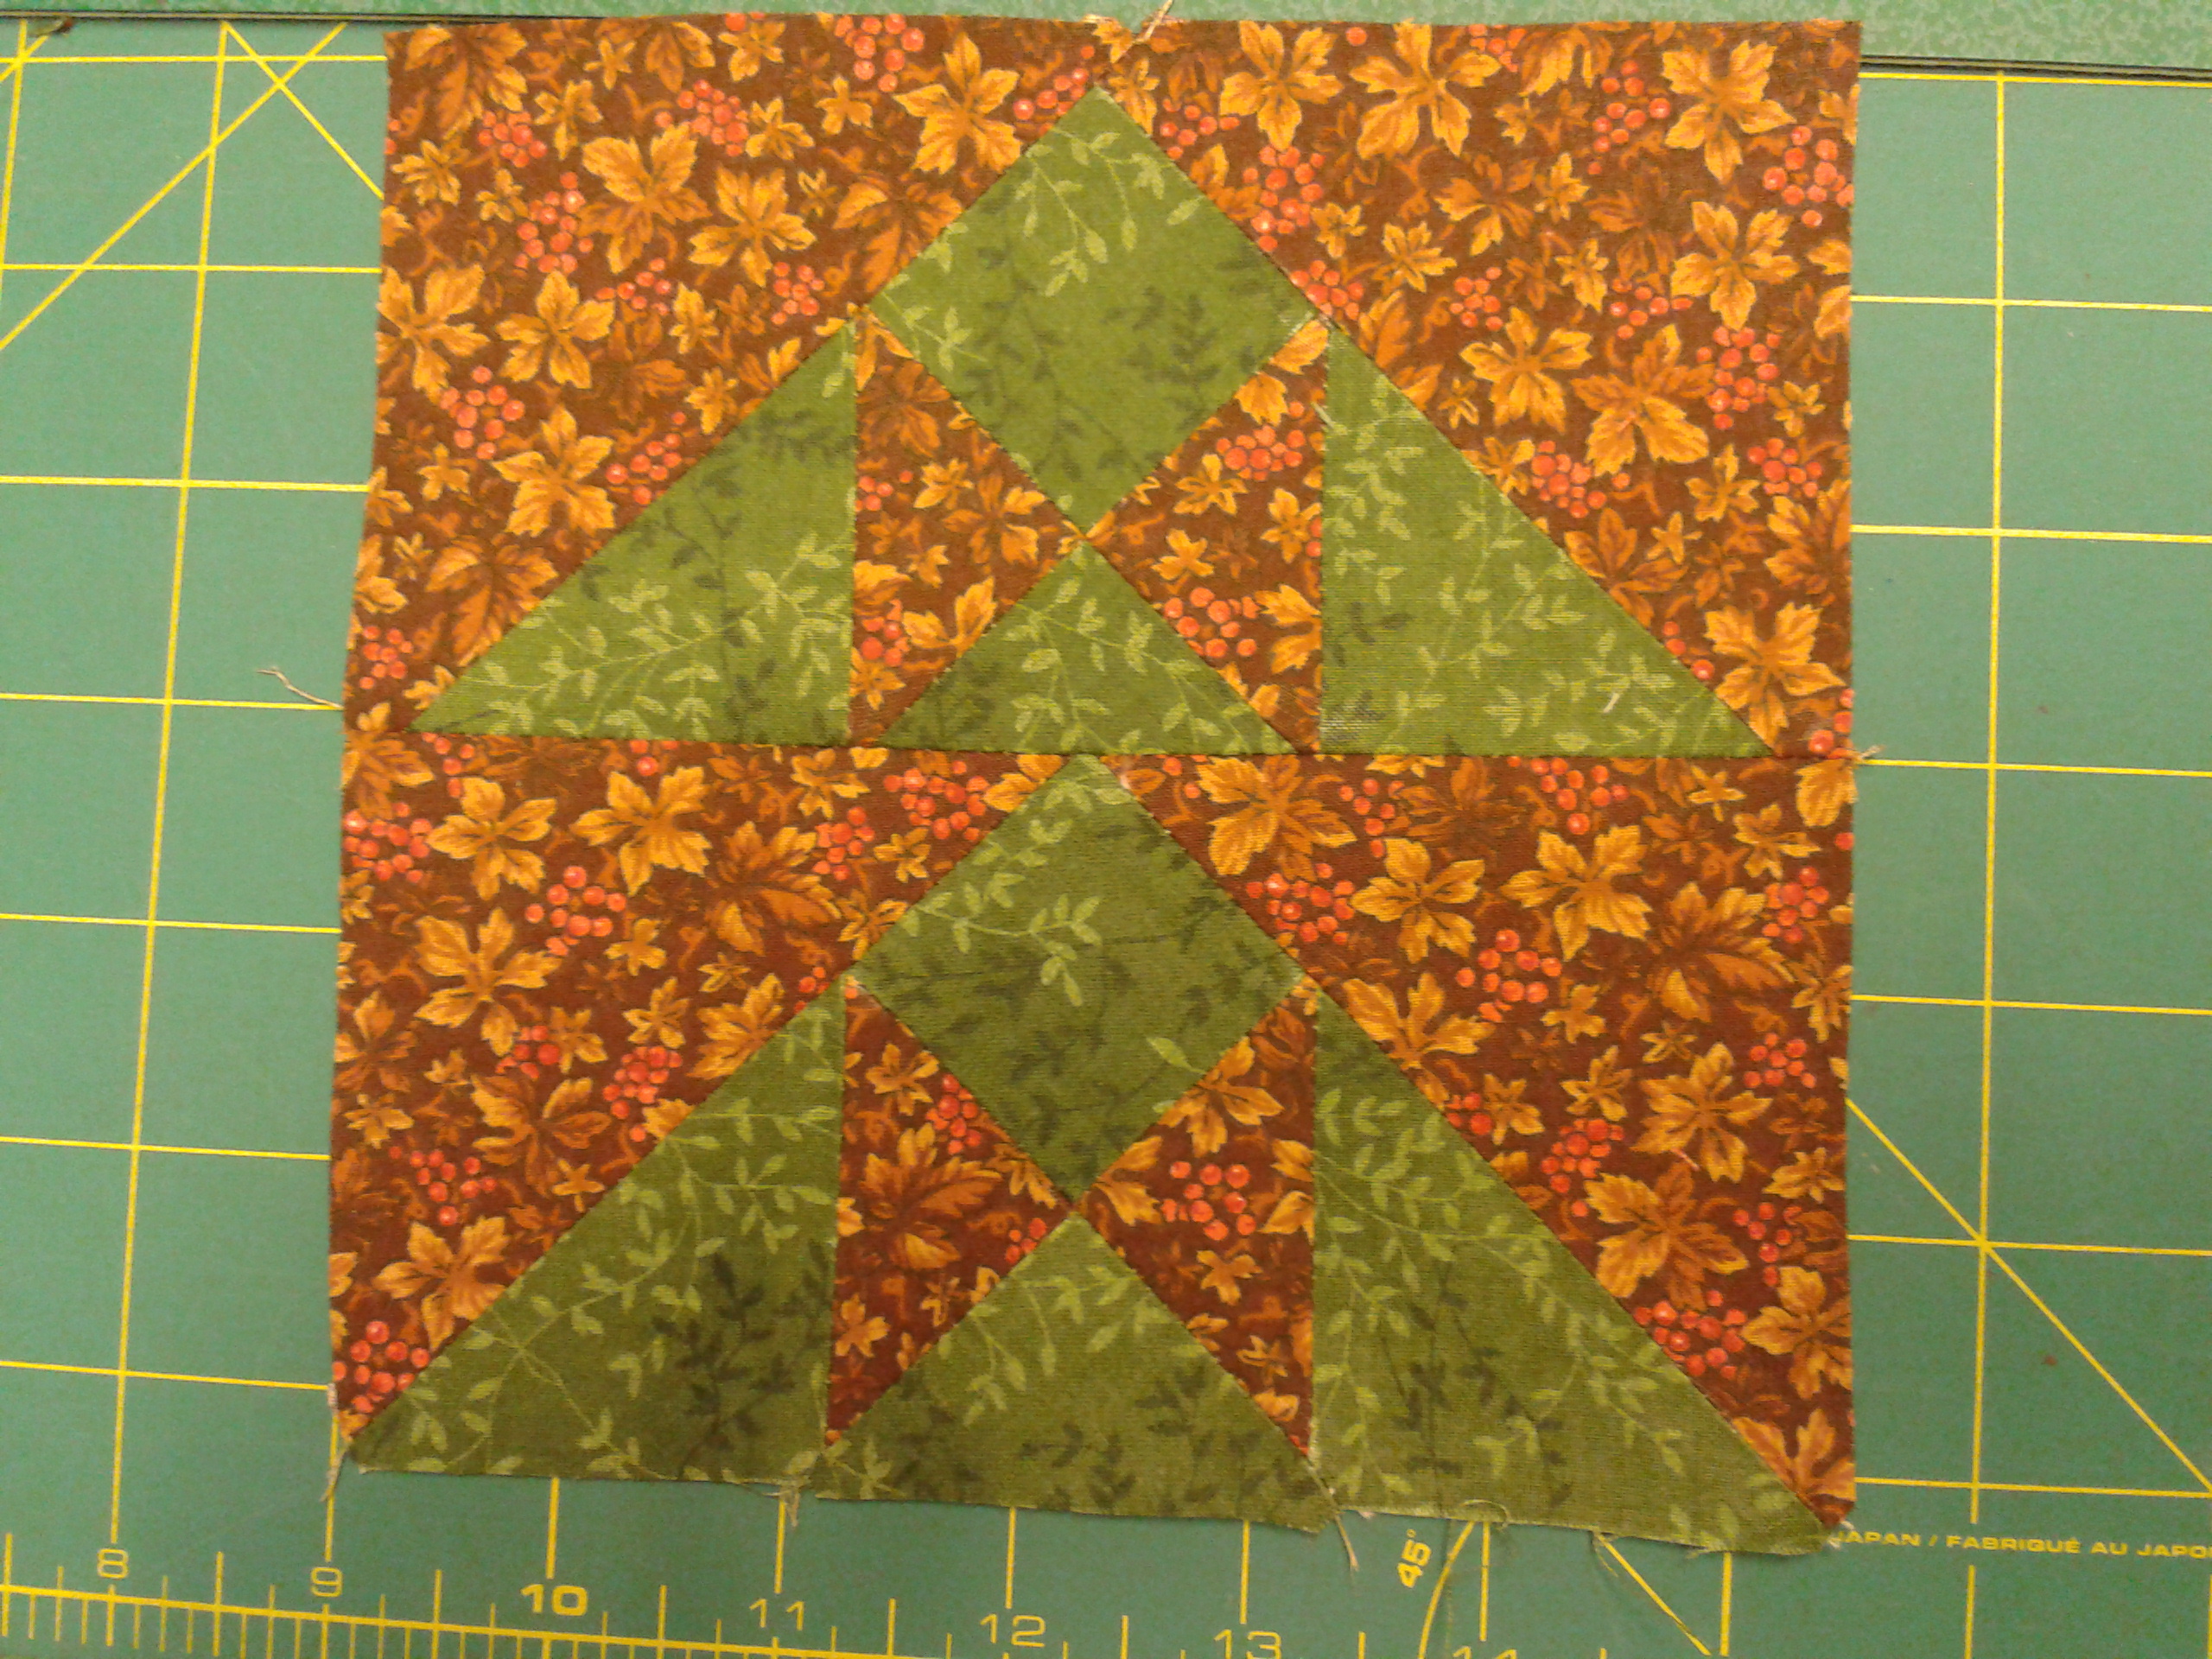 I’m happy to report that everything lined up nicely. A final pressing, and I’ve got this great block that will always evoke happy memories.

Leave a comment